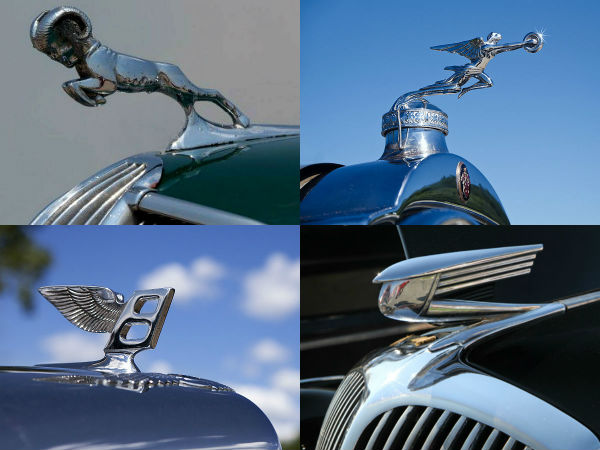
You can easily make your car’s hood ornament and install it yourself. All you need to do is invest some elbow grease and some time. If you know how to do this then trust me you will turn some heads when you roll in. Having your own personal hood ornament will be your unique signature and make your car stand out.
If your hood ornament breaks and you need to replace it then you can easily do well with your DIY hood ornament. Here I will list the steps on how to make and install your own hood ornament. You can use anything you want for this, use your imagination, but the process will be the same.
Step 1
Frist you have to check your car’s hood ornament fitting style. Usually it comes bolted on the hood and fastened by wires that have been threaded through a spring. The spring is used as a shock absorber and also a breaking point for the hood preventing irreparable damage. If you see that your hood ornament fitting is like this with a half inch center hole in the base and has a spring system then you are in luck.
Find an ornament for your car, what you need basically is the top metal part of a trophy. It depends on you what you take. But make sure that the body part is metal and not plastic. Make sure the base of the ornament is larger than the fitting and also that you have a long enough base screw. Other things you need for this are, strong one-sixth inch diameter wire, a spring, silicone adhesive, chrome spray paint, adjustable wrench, small pliers and wire snips.
Step 2
Now it’s time to dismantle your hood ornament. You should see a bolt under the hood where the hood ornament is attached. Once you have unscrewed it the ornament slides out with the wires and all. You can even detach the fitting from the hood of the car.
Step 3
Next you need drill a hole on the base of the trophy that you got. The idea is to do a perpendicular hole where you can thread the wires through. Make sure it also has is low enough to not interfere with the look and feel of the ornament.
Step 4
Now it’s time to paint the ornament to your liking. First prop up the trophy and spray paint the color that you want. After that give it a good chrome paint coating. You should thread some wire through the hole you drilled. This way you can hang the ornament for the paint to dry. Make sure you don’t continue your work till the paint is dry.
Step 5
Well it’s normal for your base fitting and the trophy base to not fit. Don’t worry you can easily get around this. Fill the base with silicone adhesive and then imprint your base fitting in there. That will create a mold of the fitting. This is relatively tough and is weather proof. Make sure you do it right as you need this for your ornament to fit as well as be strong enough to survive the rigors.
Step 6
Installing the ornament is the only step left. Thread the wire through the hole you drilled on the base. Put the wire through the hole on the hood for the ornament. When you see the wires emerge through the other side hold the figure in place. Make sure its base is perfectly fitted in with the base of the hood. Take the spring put it on the base fitting and tie it down using the wire. Make sure everything is fitted perfectly. The ornament should be able to move a little but not too much. You don’t want the hood ornament to flop around while you are driving.
Take It Out For a Spin
And there you go, you are done with your DIY hood ornament. Take your car out for a spin and show off your new ornament and see if the fit is perfect or not. You can also buy hood covers, ornaments


